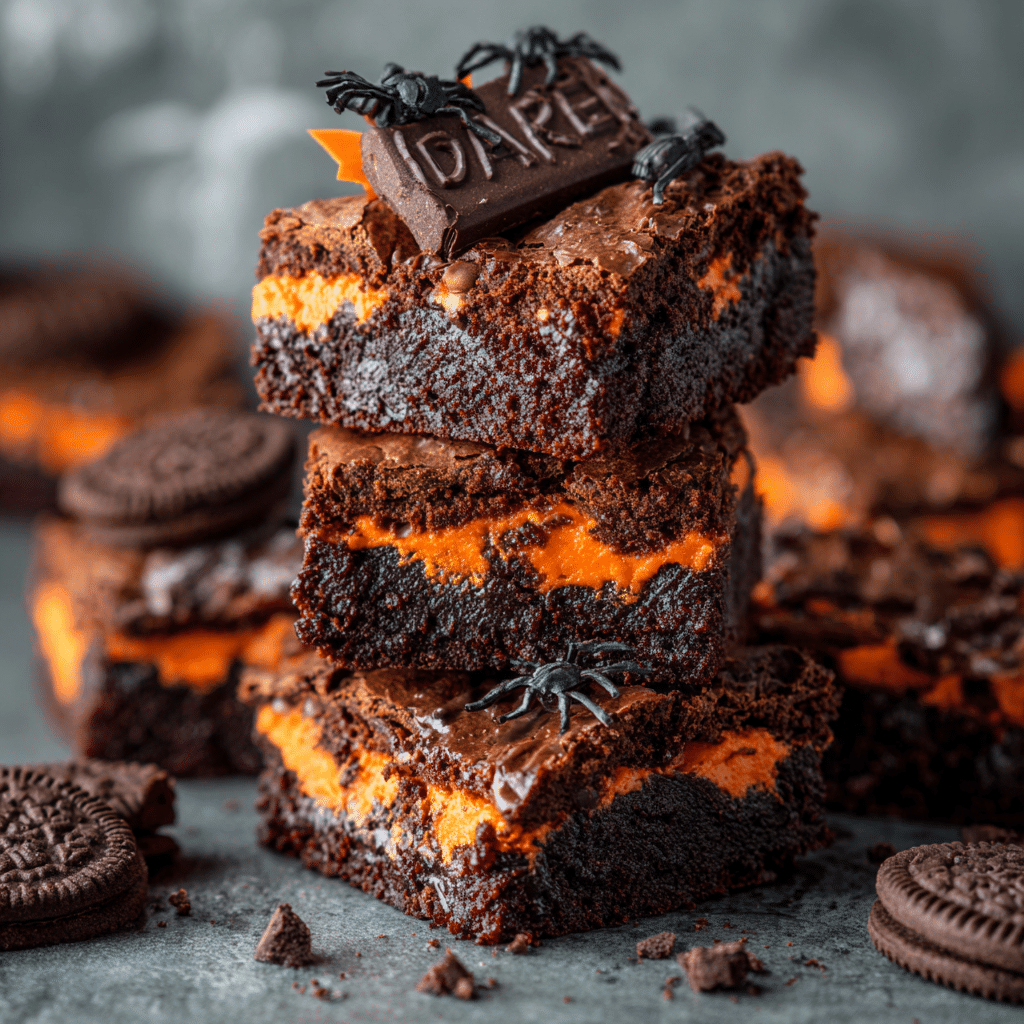
These Halloween Oreo Brownies are spooky-good: thick, fudgy, loaded with melty chocolate chunks, and studded with festive Halloween Oreo cookies in every bite. With their signature orange filling and crunch, the Oreos give these brownies just the right amount of holiday flair—making them the perfect treat for October parties, trick-or-treat night, or a cozy night in with a scary movie.
This recipe takes less than 15 minutes to prep and delivers bakery-style brownies with chewy edges, a gooey center, and irresistible cookie crunch. Whether you make them from scratch or with a boxed mix boost, these brownies will disappear faster than candy corn.
Ingredients Overview: What You Need for Halloween Oreo Brownies
Here’s a breakdown of the star ingredients and why they work so well together:
Unsweetened Cocoa Powder
Provides deep chocolate flavor. Dutch-process or natural cocoa powder both work—use whatever you have on hand.
-
Tip: Use high-quality cocoa for richer flavor.
Butter
Melted butter gives these brownies their signature dense, fudgy texture. Unsalted is best for control over the final salt level.
Granulated Sugar
Balances the cocoa’s bitterness and helps create a glossy, crackly top.
Eggs
Eggs bind the batter and give the brownies structure. Use room temperature eggs for even mixing.
All-Purpose Flour
Just enough flour to hold the brownies together, but not so much that they get cakey.
Halloween Oreo Cookies
The orange filling and chocolate cookie crunch scream Halloween! Roughly chopped and folded into the batter, they add texture and fun color contrast.
Chocolate Chips or Chunks
Optional but highly recommended for gooey chocolate pockets throughout.
-
Use semi-sweet, dark, or white chocolate—or a mix for even more fun.
Vanilla Extract & Salt
A small amount of vanilla enhances the chocolate flavor, while a pinch of salt balances the sweetness.
Step-by-Step Instructions: How to Make the Best Halloween Brownies
1. Preheat and Prep
-
Preheat your oven to 350°F (175°C).
-
Line an 8×8-inch or 9×9-inch baking pan with parchment paper and lightly grease the edges for easy removal.
2. Melt the Butter and Mix with Cocoa & Sugar
-
In a large bowl, combine:
-
¾ cup unsalted butter, melted
-
1 cup granulated sugar
-
½ cup brown sugar
-
½ cup unsweetened cocoa powder
-
-
Stir until well blended and glossy.
3. Add Eggs and Vanilla
-
Stir in:
-
2 large eggs
-
1 tsp vanilla extract
-
-
Mix until smooth.
4. Add Dry Ingredients
-
Add:
-
¾ cup all-purpose flour
-
¼ tsp salt
-
-
Mix just until no dry streaks remain—don’t overmix.
5. Fold in Oreos and Chocolate
-
Roughly chop 12–14 Halloween Oreo cookies. Save a few whole or halved cookies for topping.
-
Fold chopped Oreos and ½ cup chocolate chips or chunks into the batter.
6. Pour and Top
-
Pour the batter into your prepared pan and smooth the top.
-
Press the reserved whole or halved Halloween Oreos into the top for decoration.
7. Bake
-
Bake for 28–35 minutes, depending on your oven and pan size.
-
The edges should be set, and the center just slightly soft—a toothpick should come out with moist crumbs (not wet batter).
8. Cool and Slice
-
Let cool in the pan for at least 30 minutes before slicing.
-
For clean cuts, use a sharp knife and wipe between cuts.
Tips, Variations & Substitutions
Expert Tips
-
Don’t overbake! Pull them out while the center is still slightly underdone—they’ll finish setting as they cool.
-
Chill before slicing for the cleanest edges and fudgiest texture.
-
Microwave leftovers for 10 seconds to get that gooey, fresh-baked feel.
Fun Halloween Variations
-
Add candy eyes on top before baking or right after removing from the oven for a spooky monster look.
-
Swirl in orange food coloring or melted white chocolate dyed orange for extra flair.
-
Top with Halloween sprinkles before baking.
Ingredient Swaps
-
Use boxed brownie mix if short on time—just fold in chopped Oreos and bake as directed.
-
For dairy-free: use vegan butter and dairy-free chocolate chips.
-
Gluten-free? Use a 1:1 gluten-free flour blend and gluten-free chocolate sandwich cookies.
Serving Ideas & Occasions
These Halloween brownies are perfect for:
-
Halloween parties and bake sales
-
Trick-or-treat dessert tables
-
Spooky movie nights
-
October birthday treats
-
Festive lunchbox surprises
Serve them with:
-
A scoop of vanilla or pumpkin spice ice cream
-
A drizzle of chocolate or caramel sauce
-
A mug of hot cocoa or coffee
They’re also great as gifts—wrap in Halloween cellophane or boxes with ribbon for a thoughtful seasonal surprise.
Nutritional & Health Notes
While these brownies are indulgent, they can be enjoyed in moderation as part of a balanced lifestyle:
-
Each square (based on 9 servings) contains approx:
-
250–300 calories
-
3–4g protein
-
30–35g carbs
-
15–18g fat
-
To reduce sugar:
-
Use 70% dark chocolate and cut the sugar by ¼ cup.
-
Substitute erythritol or coconut sugar for a lower glycemic index version.
To add protein:
-
Mix in 1–2 scoops chocolate protein powder and reduce flour slightly.
FAQ
1. Can I make these brownies ahead of time?
Yes! They taste even better the next day. Store at room temperature in an airtight container for up to 4 days, or refrigerate for a fudgier texture.
2. Can I freeze Halloween Oreo brownies?
Absolutely. Wrap tightly in plastic wrap and store in a freezer bag for up to 2 months. Thaw at room temp or microwave for 15 seconds.
3. Can I use regular Oreos instead?
Yes, but the Halloween Oreos give that fun orange pop and festive look. You can use any Oreo variety you like.
4. How do I make boxed brownies taste like homemade?
Add 1 extra egg yolk, use melted butter instead of oil, and stir in chopped Oreos and chocolate chips.
5. Can I double the recipe?
Yes—use a 9×13-inch pan and bake for 35–40 minutes. Keep an eye on the center for doneness.
6. Are Halloween Oreos different in flavor?
Nope! Same taste as regular Oreos—just with orange creme and a spooky design.
7. Can I make these without eggs?
Yes! Use a flax egg (1 tbsp flaxseed + 3 tbsp water, let sit 5 minutes) or an egg replacer like Bob’s Red Mill for a vegan version.