Embarking on a culinary journey that takes us straight to the heart of El Salvador, we’re about to dive deep into the world of papusas. These aren’t just any stuffed corn tortillas; they’re a testament to Salvadoran heritage, a celebration of simplicity and flavor that has transcended borders. In this article, we’ll unravel the secrets to crafting the perfect papusa recipe, from the traditional fillings that warm the soul to the tangy crunch of curtido that accompanies each bite. So, buckle up, because we’re not just making a meal; we’re weaving a tapestry of culture, history, and tantalizing tastes that promise to transport your palate to the streets of El Salvador.
Ah, Salvadoran cuisine, a vibrant tapestry of flavors that tells the story of a rich cultural heritage. At its heart lies the papusa, a dish so beloved, it’s practically a national treasure. Imagine, if you will, a culinary tradition that has weathered the test of time, bringing families together and filling the air with the irresistible aroma of cooking masa. It’s more than food; it’s a celebration of life’s simple pleasures.
What Are Papusas?
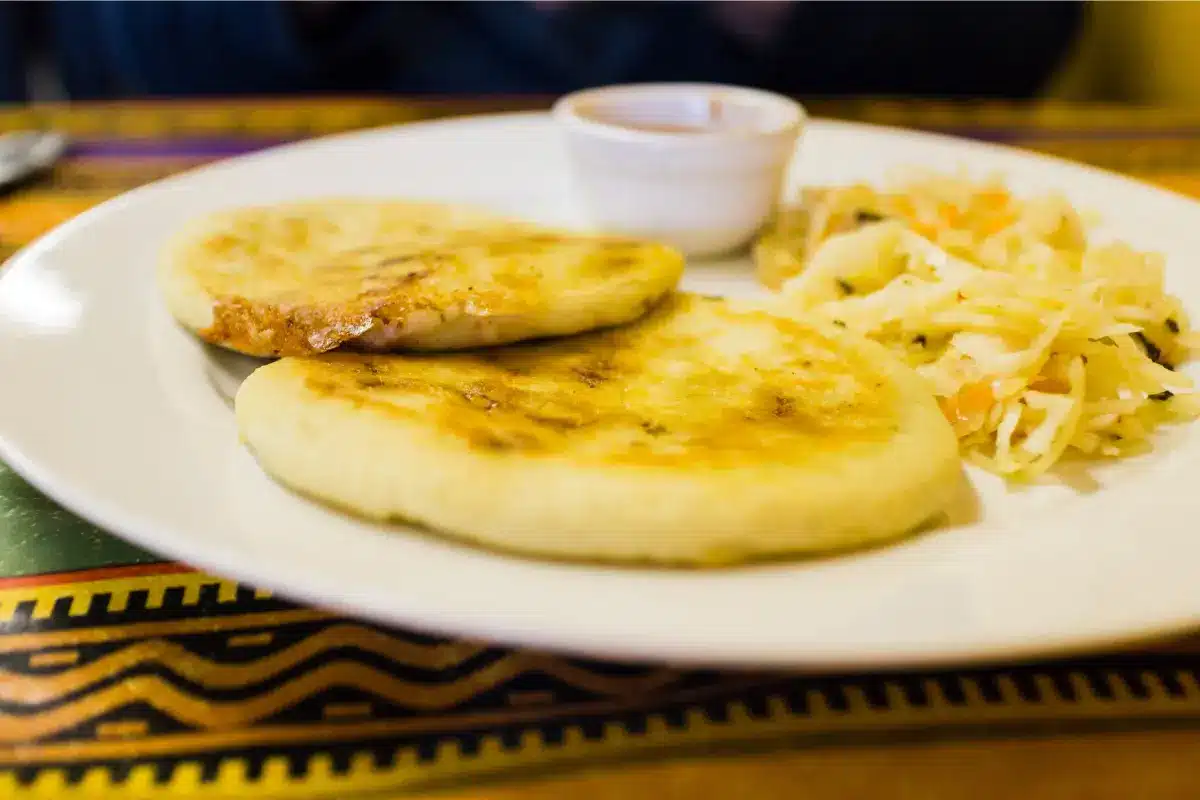
Now, let’s talk papusas. Picture this: a soft, warm corn tortilla, lovingly stuffed with a melange of fillings that might include anything from a hearty chicharrón to the creamy goodness of refried beans, all melded together with the melting embrace of cheese. Originating from the Pipil tribes of El Salvador, papusas are not just a meal; they’re a piece of history, handcrafted with the same love and care today as they were centuries ago.
Varieties abound, from the classic quesillo (a delightful cheese) to the more adventurous loroco (an edible flower) or the heartiness of beans and pork. Each papusa is a world unto itself, a bite of Salvadoran pride that’s as diverse as the landscape from which it hails.
So, as we embark on this culinary adventure, remember, we’re not just cooking; we’re paying homage to a culture, a people, and a tradition that has brought joy and satisfaction to countless tables around the world. Let’s get our hands doughy, our hearts full, and our tables ready for a feast that’s more than a meal—it’s a journey through the delicious world of the papusa recipe
Ingredients and Tools
Before we dive into the heart of making papusas, let’s get our ducks in a row with the right ingredients and tools. After all, every master chef knows that preparation is half the battle. So, roll up your sleeves and let’s get everything ready for this culinary adventure.
Ingredients for Papusas
For the uninitiated, the beauty of papusas lies in their simplicity and the symphony of flavors they bring to the table. Here’s what you’ll need:
- Masa Harina: 4 cups
- Salt: 2 teaspoons
- Water: 3 cups (cold)
- Mozzarella Cheese: 1 cup, grated
- Refried Beans: 1 cup, cooked
- Pork Shoulder: 1 lb, boneless, cut into cubes
- Vegetable Oil: For frying and dough
- Tomato: 1 medium, diced
- Green Bell Pepper: ½, diced
- White Onion: 1 small, diced
Ingredients for Curtido
And let’s not forget the curtido, that tangy cabbage slaw that elevates papusas from great to sublime.
- Green Cabbage: ½ head, cored and shredded
- Carrots: 2 medium, grated
- White Onion: 1 small, sliced
- Boiling Water: 4 cups
- Distilled White Vinegar: 1 cup
- Dried Oregano: 1 tablespoon
- Kosher Salt: 2 teaspoons
Required Kitchen Tools
Now, for the tools. Thankfully, we’re keeping it simple, true to the spirit of papusas.
- Large Mixing Bowl: For mixing masa and curtido.
- Comal or Skillet: Essential for cooking those papusas to golden perfection.
- Food Processor: Handy for making the chicharrón filling.
- Measuring Cups and Spoons: Accuracy is key, folks.
- Liquid Measuring Cup or Small Bowl: For the curtido dressing.
- Airtight Jar or Container: To let the curtido marinate and mingle.
With our ingredients ready and tools at hand, we’re set to embark on the next step of our journey. Making papusas is more than just following a recipe; it’s about embracing the art of Salvadoran cooking, where every ingredient tells a story, and every tool is a bridge to deliciousness. So, let’s get ready to mix, shape, and cook our way to a feast that’s sure to be remembered. Stay tuned, because in the next part, we’re rolling up our sleeves and diving hands-first into the doughy heart of papusa making.
Step-by-Step papusa Recipe
Now that we’ve got our ingredients lined up and our tools at the ready, it’s time to roll up our sleeves and dive into the heart of making papusas. This journey from dough to delicious is simpler than you might think, but every step is a dance of tradition and taste. So, let’s get started, shall we?
Preparing the Curtido
First things first, let’s get that curtido marinating because, trust me, you’ll want this tangy slaw to complement your papusas.
- Combine the Veggies: In a large bowl, toss together the shredded cabbage, sliced onion, and grated carrots.
- Boil and Pour: Pour the boiling water over the veggies, letting them sit for about 10 minutes before draining.
- Mix the Dressing: Whisk together the vinegar, oregano, and salt, then pour it over the drained veggies. Give it a good toss to ensure everything’s well coated.
- Marinate: Transfer your curtido to an airtight container and let it chill in the fridge. Overnight is best, but if you’re pressed for time, 20 minutes will do.
Making the Chicharrón
Next up, the chicharrón. This savory filling is a game-changer, folks.
- Cook the Pork: Heat a bit of vegetable oil in a pan and cook those pork cubes until they’re crispy and golden. Patience is key here.
- Blend It Up: Once cooked, transfer the pork to a food processor, adding the diced tomato, bell pepper, and onion. Pulse until you get a thick paste. Remember, we’re not looking for soup here.
Preparing the Masa
Ah, the masa, the soul of the papusa. Let’s get our hands doughy.
- Mix Masa Harina and Salt: In a large bowl, whisk together the masa harina and salt. Then, gradually add the cold water.
- Knead: Use your hands to mix until you’ve got a smooth, clay-like dough. If it’s too dry, add a bit more water; too sticky, a bit more masa harina.
Assembling and Cooking Papusas
And now, the moment we’ve all been waiting for—making those papusas.
- Shape the Dough: Take a portion of the dough and roll it into a ball, then flatten it into a round disc.
- Fill ‘Em Up: Spoon a bit of the chicharrón mixture, some refried beans, and a sprinkle of cheese onto the center of the dough round.
- Seal and Flatten: Fold the edges over the filling, sealing it inside, then gently flatten it into a thick disc. A little crack here and there? No worries, just patch it up with a bit of dough.
- Cook to Perfection: Heat a lightly oiled comal or skillet over medium heat. Cook the papusas until they’re golden brown on each side, about 4 minutes per side.
Voilà! You’ve just made authentic Salvadoran papusas. Serve them hot off the skillet with a generous helping of curtido on the side. The beauty of this dish isn’t just in its flavors but in the joy of making something so deeply rooted in tradition and culture. So, as you take that first bite, remember, you’re not just tasting a papusa; you’re savoring a piece of El Salvador. Stay tuned for the next part, where we’ll explore the best ways to serve and enjoy your homemade papusas.
Serving and Pairing
Congratulations! You’ve mastered the art of making papusas, but our culinary journey doesn’t end here. Now, it’s all about presenting these delightful treats in a way that honors their rich heritage while tantalizing the taste buds. Plus, we’ll dive into the perfect pairings to elevate your papusa experience to new heights. So, let’s get into it!
How to Serve Papusas
Serving papusas is more than just plating up; it’s about creating an experience. Here’s how to do it right:
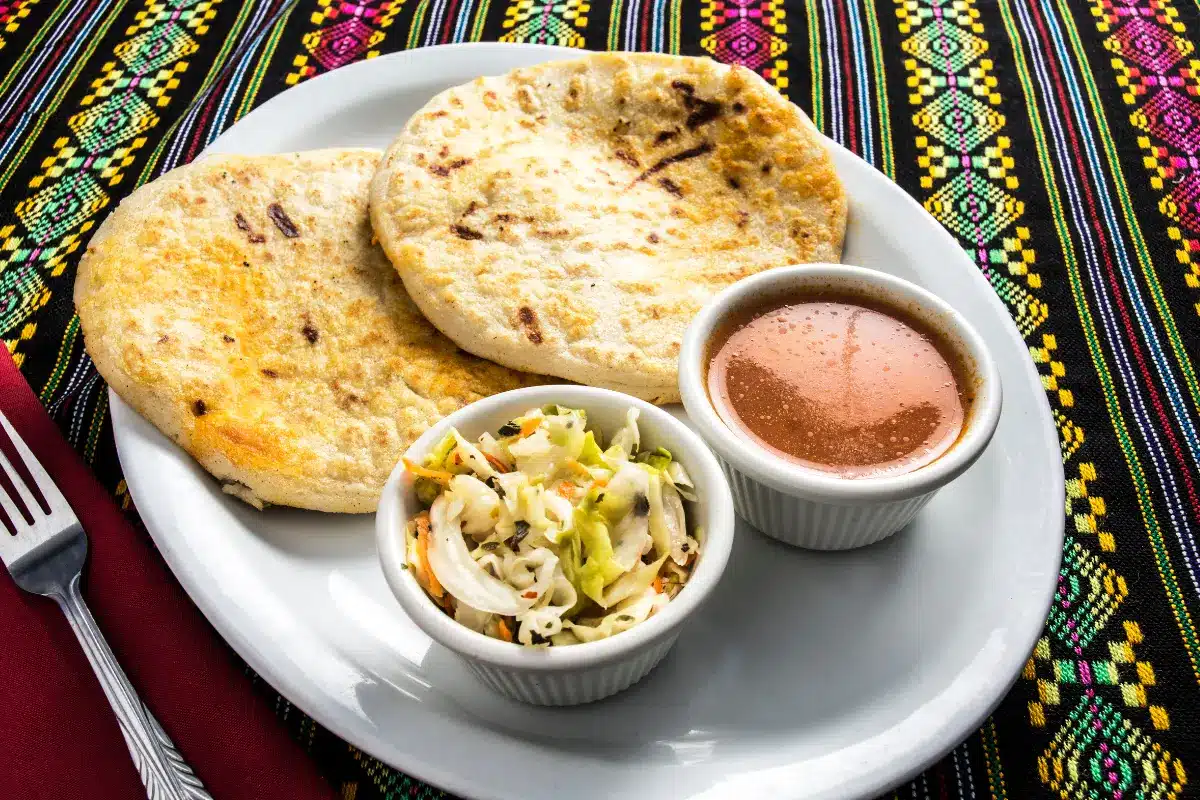
- The Traditional Way: Always serve papusas with a generous side of curtido and a bowl of salsa roja. The tangy slaw and the spicy salsa are non-negotiable companions that balance the richness of the papusas.
- Presentation Matters: Arrange your papusas on a large platter, with the curtido and salsa on the side. For a rustic touch, consider using wooden boards or earthenware.
- Garnish and Enjoy: A sprinkle of fresh cilantro or a few lime wedges can add a pop of color and a zesty kick to your presentation.
Pairing with Drinks
While papusas are incredibly versatile, choosing the right drink to accompany them can elevate your meal from great to unforgettable. Here are some non-alcoholic pairings that complement the flavors beautifully:
- Horchata: This creamy, sweet beverage made from rice, cinnamon, and sometimes vanilla, is a refreshing counterpoint to the savory papusas.
- Tamarindo Juice: The tangy, sweet-and-sour flavor of tamarindo juice works wonders with the rich fillings and spicy salsa.
- Limonada: A classic Salvadoran lemonade, either sparkling or still, offers a refreshing, citrusy cleanse after each bite.
Serving papusas is an art form, a balance of flavors, textures, and colors that come together in a harmonious feast. Whether you’re enjoying them in the comfort of your home or sharing them with friends and family, remember that each papusa carries with it the warmth and spirit of Salvadoran culture.
So, there you have it, folks! You’re now fully equipped to not only make authentic papusas but to serve them in a way that truly celebrates their origins. Stay tuned for our next part, where we’ll tackle some of the most frequently asked questions about papusas, ensuring you’re a bona fide expert ready to impress.
FAQs Based on People Also Ask
In our journey through the delicious world of papusas, we’ve kneaded, filled, and cooked our way into the hearts of many. Yet, as with any culinary adventure, questions arise. Fear not, for we’re here to tackle some of the most frequently asked questions about papusas, ensuring you’re armed with all the knowledge to perfect your craft.
Can Papusas Be Made in Advance?
Absolutely! Papusas are wonderfully forgiving when it comes to prep time. You can prepare the dough and fillings ahead of time, storing them separately in the refrigerator. When you’re ready to cook, simply bring them to room temperature. This makes papusas a fantastic option for entertaining or for those busy weeknights when you want a homemade meal without the fuss.
Are Papusas Gluten-Free?
Yes, they are! Since the dough is made from masa harina, a flour made from ground nixtamalized corn, papusas are naturally gluten-free. This makes them a great option for those with gluten sensitivities or anyone looking to incorporate more gluten-free meals into their diet. Just be sure to check the labels on your masa harina to ensure it’s processed in a gluten-free facility if cross-contamination is a concern.
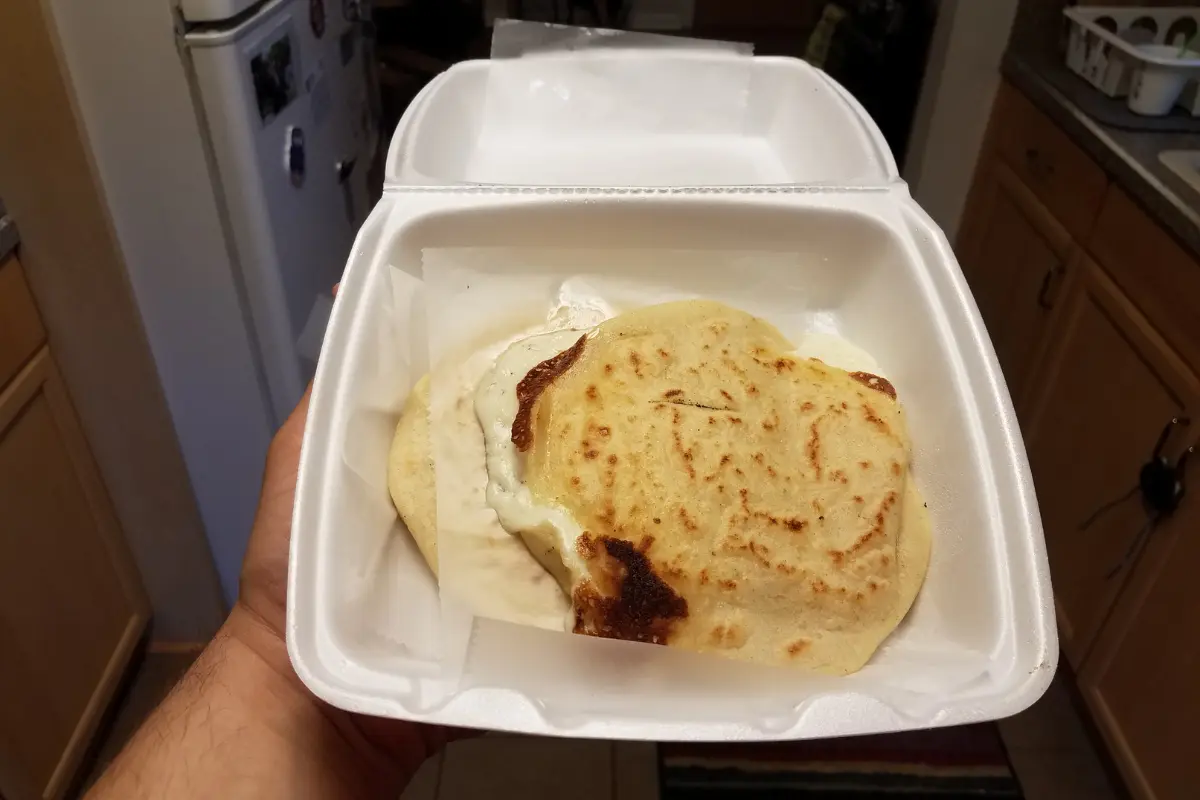
How to Store and Reheat Leftovers?
Storing and reheating papusas is a breeze. If you find yourself with leftovers, simply let them cool to room temperature, then store them in an airtight container in the refrigerator. They’ll keep for up to three days. When you’re ready to reheat, a skillet over medium heat works best, giving them a few minutes on each side until they’re warm and slightly crispy. Avoid the microwave if you can, as it tends to make them rubbery.
Can I Use Store-Bought Masa Instead of Homemade?
Certainly! While making your masa from scratch can be a rewarding experience, store-bought masa harina is a time-saving alternative that doesn’t compromise on flavor or authenticity. It’s widely available in most grocery stores and comes in various types, so you can still enjoy the process of making papusas even when you’re short on time.
And there you have it, folks—answers to some of the most burning questions about papusas. Whether you’re a seasoned pro or a curious newcomer to Salvadoran cuisine, we hope this guide has illuminated the path to delicious, authentic papusas. Remember, cooking is not just about following recipes; it’s about the joy of creating, the pleasure of eating, and the love of sharing. So, keep those questions coming, and let’s keep the culinary adventure alive! Stay tuned for more insights and tips in our next installment.