Welcome to the ultimate guide to making your own Oreo Ice Cream at home! Ah, Oreo Ice Cream – just saying it out loud makes the taste buds dance in anticipation. In this detailed walkthrough, we’re diving deep into the creamy, crunchy world of homemade Oreo ice cream, a treat that’s not just for kids but a guilty pleasure for adults alike. From the classic version to a no-churn wonder, and even a nod towards our vegan friends, we’ve got every base covered. So, let’s roll up our sleeves, get our mixers ready, and embark on this deliciously icy journey.
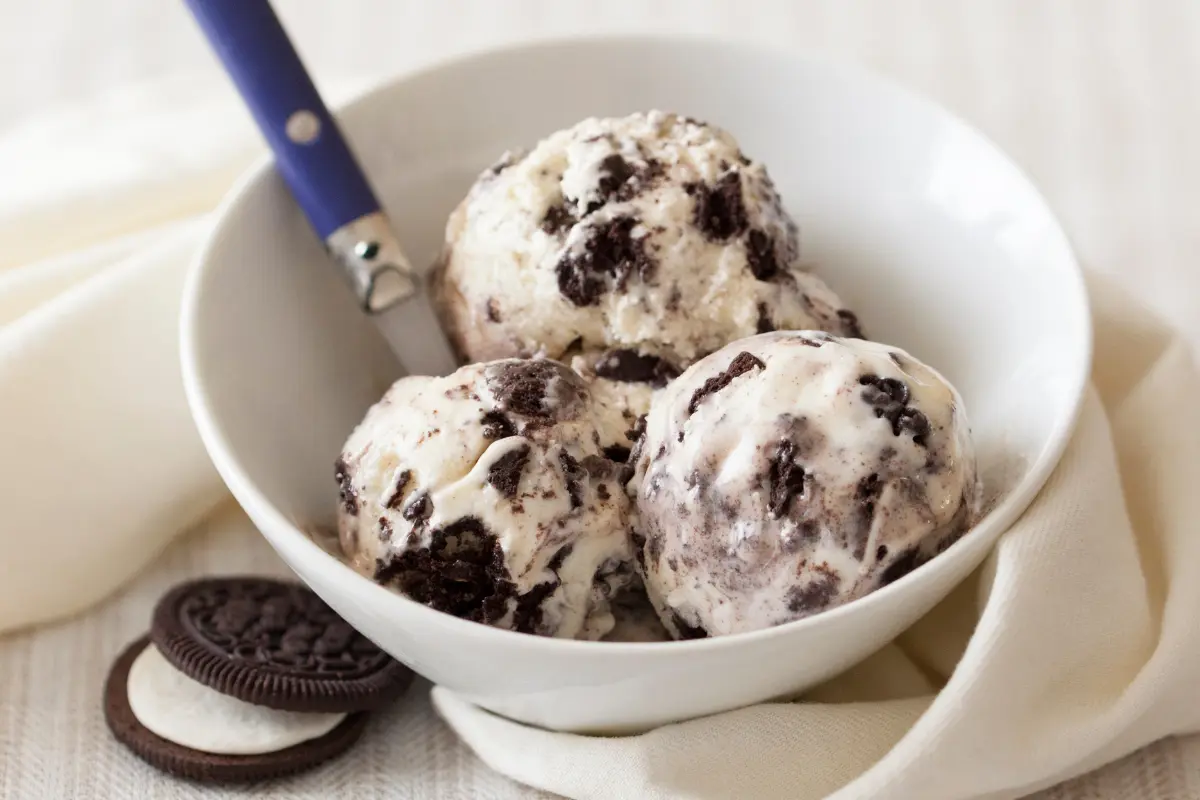
Oreo Ice Cream
Oreo Ice Cream, the name itself conjures up images of creamy swirls punctuated by that iconic chocolatey crunch. But, have you ever wondered about the journey of this beloved dessert? Well, buckle up, because we’re about to take a delightful dive into its history, its rise to fame, and the reasons why this dessert is a must-try for everyone.
Brief History of Oreo Ice Cream
Once upon a time, the world was introduced to Oreo cookies in 1912. Little did anyone know that these cookies would one day become a cornerstone of one of the most irresistible ice cream flavors known to humankind. The evolution of Oreo Ice Cream from a simple cookie crumble mix-in to a fully-fledged flavor of its own is a testament to the cookie’s versatility and enduring popularity.
Popularity and Why It’s Loved
There’s something magical about the combination of creamy ice cream and crunchy Oreos that has captured hearts worldwide. Perhaps it’s the way the sweetness of the ice cream complements the deep chocolate flavor, or maybe it’s the joy of finding a sizable chunk of Oreo in your scoop. Whatever the reason, Oreo Ice Cream has cemented its place in the halls of ice cream fame, beloved by all ages.
Why This Recipe Works
Alright, let’s get down to brass tacks. You might be thinking, “Why should I try this Oreo Ice Cream recipe?” First off, it’s straightforward. You won’t need to decipher any cryptic cooking terms or hunt down any elusive ingredients. Plus, it’s customizable! Whether you’re a fan of the classic Oreo, the golden variety, or something more adventurous like the mint Oreo, this recipe has got you covered.
So, whether you’re a seasoned ice cream maker or this is your first rodeo, our guide is your ticket to achieving Oreo ice cream bliss. Stay tuned, as we take you through the ins and outs of creating this delightful treat, ensuring a scoop of happiness with every bite. Let’s get churning!
Key Ingredients

Diving into the Oreo Ice Cream recipe, the magic truly begins with the right ingredients. Just like an artist with their palette, having these components at your fingertips is crucial to creating that masterpiece we all crave on a hot summer day, or let’s be honest, any day.
Oreo Cookies – Variants and Choosing the Right One
- Classic Oreo Cookies: For that authentic Oreo Ice Cream flavor, you can’t go wrong with the classic. The perfect balance of chocolate and cream hits just right.
- Variants for the Bold: Feeling adventurous? Oreo offers a plethora of flavors from Golden to Mint, Peanut Butter, and even Pumpkin Spice. Each variant opens the door to a new dimension of ice cream delight.
Ice Cream Base – Homemade vs. Store-Bought
- Homemade Vanilla Ice Cream Base: If you’re up for it, a homemade base gives you control over sweetness and texture, making your Oreo Ice Cream truly unique.
- Store-Bought Vanilla Ice Cream: In a pinch or looking for convenience? A good quality store-bought vanilla ice cream can serve as an excellent base to which you add your crushed Oreos.
Additional Ingredients for Flavor and Texture
- Heavy Cream: For those venturing into a homemade base, heavy cream is the backbone, providing that luxurious mouthfeel.
- Sweetened Condensed Milk: A no-churn favorite, this ingredient adds sweetness and creamy texture without the need for an ice cream machine.
- Vanilla Extract: A dash enhances the flavor, bringing out the best in both the cream and the Oreos.
Key Ingredients List:
- Classic Oreo Cookies (or variant of choice)
- 2 cups Heavy Cream (for homemade base)
- 1 can Sweetened Condensed Milk (for no-churn version)
- 1 tsp Vanilla Extract
- 4 cups Vanilla Ice Cream (for an easy mix-in version)
The Alchemy of Ingredients
The transformation of these simple ingredients into a batch of heavenly Oreo Ice Cream is nothing short of alchemy. Each component plays a pivotal role. The Oreos, with their crunchy texture and chocolatey flavor, are the stars of the show. The ice cream base, whether homemade or store-bought, serves as the creamy canvas on which this masterpiece is created. And the additional flavors and textures? They’re the brush strokes that turn a simple dessert into an extraordinary experience.
As we venture into the making of this beloved treat, remember, the quality of your ingredients speaks volumes in the final scoop. So, choose wisely, mix heartily, and prepare for a taste adventure that’ll have you coming back for seconds. And thirds. Who’s counting, right?
Stay tuned as we next explore the heart of our guide – the classic Oreo Ice Cream recipe and its no-churn counterpart, ensuring that everyone, regardless of their kitchen gadgetry, can partake in this icy indulgence.
Recipe Variations
Embarking on our Oreo Ice Cream adventure, we encounter a crossroads – the path to the classic recipe or the trail leading to the no-churn delight. Fear not, for we shall explore both, ensuring that no soul is left behind in this quest for creamy, Oreo-packed bliss.
Classic Oreo Ice Cream Recipe
Ah, the classic route – a journey for those with an ice cream maker at their beck and call. This path promises a smooth, creamy texture that’s hard to beat.
Ingredients:
- 2 cups heavy cream
- 1 cup whole milk
- ¾ cup sugar
- 2 tsp vanilla extract
- 1 ½ cups crushed Oreo cookies
- Pinch of salt
Directions:
- In a mixing bowl, whisk together the heavy cream, whole milk, sugar, vanilla extract, and a pinch of salt until the sugar dissolves.
- Churn the mixture in your ice cream maker according to the manufacturer’s instructions until it’s thick and creamy.
- Fold in the crushed Oreo cookies, ensuring they’re evenly distributed.
- Transfer the ice cream to a freezer-safe container, smoothing out the top. Cover and freeze until firm, about 5 hours.
- Serve with a generous smile and maybe an extra Oreo or two on the side for good measure.
No-Churn Oreo Ice Cream
For those without an ice cream maker, despair not! The no-churn method is here to save the day, offering a shortcut to deliciousness with minimal fuss.
Ingredients:
- 2 cups heavy cream
- 1 (14 oz.) can sweetened condensed milk
- 1 tsp vanilla extract
- 1 ½ cups crushed Oreo cookies
Directions:
- Whip the heavy cream in a large bowl until stiff peaks form, turning the mixer up high for the grand finale.
- Gently fold in the sweetened condensed milk and vanilla extract, mixing until smooth and irresistible.
- Add the crushed Oreos to the mixture, folding them in until you’ve got a cookies-and-cream dream.
- Pour the mixture into a loaf pan or any freezer-safe container. Smooth the top with the back of a spoon or a spatula.
- Freeze for at least 6 hours, or until the ice cream is firm and ready to scoop up happiness.
Vegan and Dietary Variation
Not to leave anyone out of this frozen fiesta, here’s a quick nod to our vegan friends and those with dietary restrictions.
Ingredients:
- 2 cans of full-fat coconut milk (chilled overnight)
- ¾ cup agave syrup or maple syrup
- 1 tsp vanilla extract
- 1 ½ cups vegan Oreo cookies (crushed)
Directions:
- Scoop the solid coconut cream into a bowl, leaving the liquid behind. Whip until creamy.
- Add the agave syrup and vanilla extract, whipping until combined.
- Fold in the crushed vegan Oreos until just mixed.
- Proceed as with the no-churn version above.
Whether you choose the path of the classic recipe or the no-churn route, each leads to a delightful destination of Oreo Ice Cream joy. So why wait? Let’s churn up some fun and enjoy the creamy, crunchy goodness that awaits. Stay tuned, as we next dive into advanced techniques and tips to elevate your ice cream game to the next level!
Advanced Techniques and Tips
After exploring the foundational paths to Oreo Ice Cream bliss, let’s elevate our ice cream artistry. Whether you’re a wizard with the ice cream maker or a no-churn ninja, these advanced techniques and tips will ensure your dessert not only tastes divine but also boasts a texture that’s nothing short of perfection.
Enhancing Your Oreo Ice Cream
Crafting the Perfect Consistency:
- Pre-Freeze Your Mix-Ins: To avoid Oreo cookies absorbing too much moisture and losing their crunch, give them a quick freeze before folding them into your ice cream base.
- Temperature Control: For the smoothest texture, ensure your mixture is cold before churning. If you’re going no-churn, chilling the condensed milk and cream mixture in the fridge for an hour can work wonders.
Incorporating Additional Flavors:
- Complementary Flavor Pairings: Consider adding a swirl of peanut butter or a dash of peppermint extract to complement the Oreo’s chocolatey goodness. A drizzle of caramel can also introduce a delightful contrast.
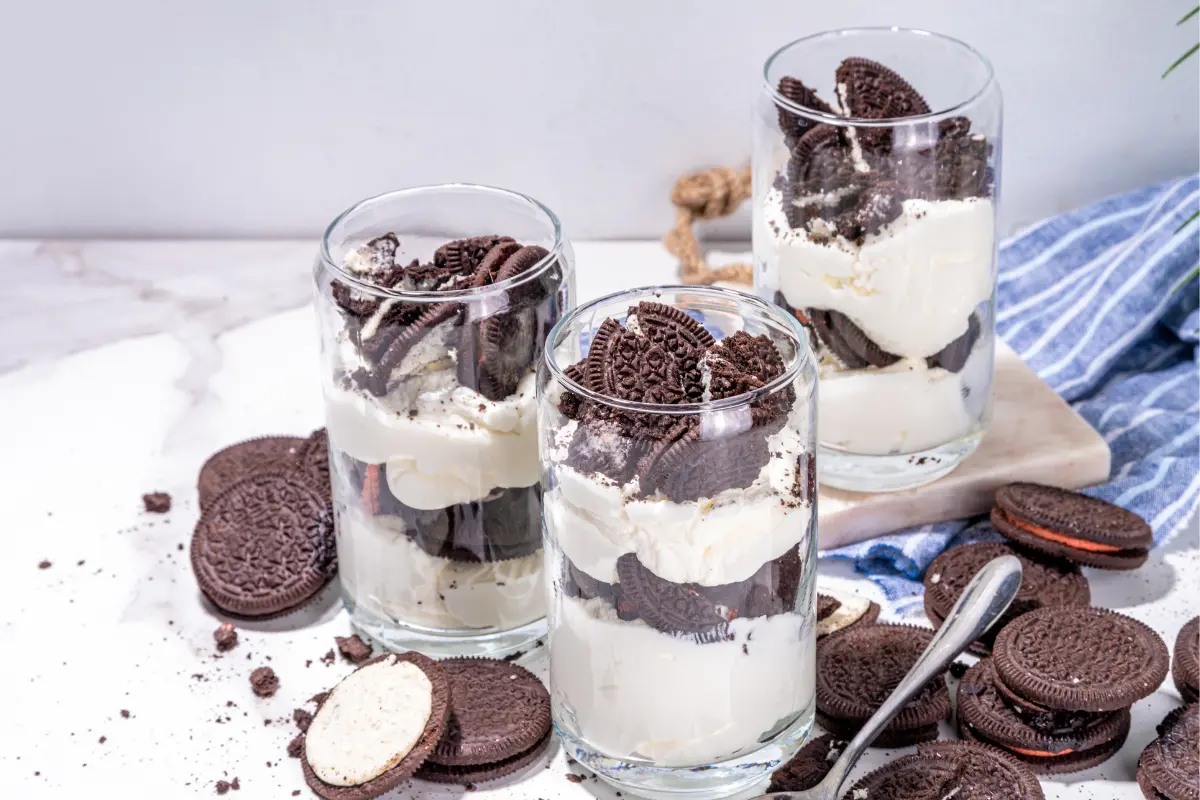
- Layering for Impact: To create a visually stunning and tastefully layered ice cream, alternate layers of the ice cream mixture with crushed Oreos and any additional flavors in your storage container before the final freeze.
Troubleshooting Common Issues
Battling Ice Crystals:
- Airtight Storage: Ice crystals are often the result of air exposure. Store your ice cream in an airtight container and consider pressing a piece of parchment paper directly onto the surface before sealing.
- Quality Cream: Opt for high-fat cream, especially if you’re whipping up a no-churn version. The higher fat content helps reduce ice crystal formation.
Tackling Overly Sweet Outcomes:
- Balance with Salt: A pinch of salt can counteract excessive sweetness and bring out the flavors more vividly.
- Acidic Add-Ins: A squeeze of lemon juice or a splash of balsamic vinegar, especially when added to fruit-based mix-ins, can provide a subtle balance to the sweetness.
With these advanced techniques and troubleshooting tips, your Oreo Ice Cream is not just a treat but a masterpiece of texture and flavor. Embrace the process, experiment with confidence, and remember that the journey to perfect ice cream is as enjoyable as the destination.
As we continue our exploration, stay tuned for practical insights on serving and storing your homemade ice cream, ensuring every scoop is as fresh and delightful as the first. The art of ice cream making is a journey of discovery, one where each batch brings new lessons and joy. Let’s keep churning and turning our kitchens into havens of happiness, one Oreo-infused scoop at a time.
Serving and Storage oreo ice cream
After crafting the perfect batch of Oreo Ice Cream, it’s essential to know how to serve it up just right and keep it fresh for as long as possible. Here, we’ll dive into the art of presentation and the science behind optimal storage, ensuring that your homemade delight remains a go-to treat for days (or let’s be real, hours) to come.
Best Ways to Serve Oreo Ice Cream
Creative Presentation Ideas:
- Waffle Cone Bowls: Scoop your Oreo Ice Cream into waffle cone bowls for a fun, edible serving dish. Top with a sprinkle of crushed Oreos and a drizzle of chocolate sauce to elevate the experience.
- Ice Cream Sandwiches: Take it up a notch by sandwiching a generous scoop between two Oreo cookies. For an extra touch, roll the edges in mini chocolate chips or sprinkles.
Pairing with Other Desserts:
- A La Mode: Serve a scoop atop a warm slice of chocolate lava cake or brownie. The contrast between the hot and cold, soft and crunchy, takes the dessert experience to a new level.
- DIY Sundae Bar: Let guests customize their servings with various toppings like chopped nuts, whipped cream, maraschino cherries, and more. It’s a fun way to make everyone’s dessert unique.
Storing Your Ice Cream
Preventing Freezer Burn:
- Airtight is Right: Transfer your ice cream to an airtight container to protect it from air exposure, which can lead to freezer burn.
- Press and Seal: Lay a piece of parchment or wax paper directly on the surface of the ice cream before sealing the container. This extra barrier helps keep ice crystals at bay.
Long-term Storage Tips:
- Deep Freeze: For longer storage, keep your ice cream in the back of the freezer where the temperature is most consistent.
- Label and Date: Keep track of when you made your ice cream by labeling the container with the date. Most homemade ice creams are best enjoyed within a month, but who are we kidding? It’s unlikely to last that long.
By mastering the art of serving and the nuances of storage, your homemade Oreo Ice Cream won’t just be a fleeting delight but a lasting treasure ready to impress and satisfy at a moment’s notice. Whether it’s a solitary indulgence, a family treat, or the centerpiece of your next gathering, every scoop from your carefully stored batch promises to be as perfect as the first.
Next, we’ll wrap up our comprehensive guide with a segment on FAQs, addressing all those burning questions you might have about making, enjoying, and storing your homemade Oreo Ice Cream. Stay tuned for the final scoop!
FAQs about oreo ice cream
In our journey through the world of Oreo Ice Cream, we’ve covered the how-tos, from crafting your creamy masterpiece to storing it for longevity. Now, let’s tackle some of the most frequently asked questions to clear up any lingering clouds of doubt. This way, you can proceed with confidence, knowing you’re ready to handle whatever comes your way in your ice cream-making adventure.
Can I Use Low-Fat Ingredients?
Certainly, you can use low-fat ingredients if you’re looking to lighten up your Oreo Ice Cream. However, keep in mind that the creaminess and richness might be somewhat reduced. Full-fat cream and condensed milk contribute to the ice cream’s luxurious texture, so with low-fat options, the outcome might be a bit icier.
How to Make It Without an Ice Cream Maker?
No ice cream maker? No problem! The no-churn method is your best friend here. Simply whip your heavy cream to stiff peaks, fold in sweetened condensed milk and crushed Oreos, and freeze. Voila, you’ve got yourself some homemade Oreo Ice Cream without the need for any fancy gadgets.
Can I Add Extra Ingredients Like Chocolate Chips?
Absolutely! The beauty of making your own Oreo Ice Cream is the freedom to customize it. Feel free to stir in chocolate chips, a swirl of caramel, chunks of brownie, or any other favorites. Just add these extras when you fold in your Oreos to ensure they’re evenly distributed.
How Do I Prevent My Ice Cream from Becoming Too Hard in the Freezer?
If your ice cream becomes too hard in the freezer, it might be due to low fat content or too much water content. To prevent this, make sure to use full-fat ingredients and minimize any add-ins that might introduce extra water. Storing your ice cream in an airtight container can also help maintain its creamy texture.
What’s the Best Way to Soften Ice Cream Before Serving?
To soften your Oreo Ice Cream for easier scooping, simply let it sit on the countertop for about 5-10 minutes before serving. This allows it to soften slightly, making it easier to dig into without losing its firm texture.
Can This Ice Cream Be Made Vegan?
Yes, it can! For a vegan version, use coconut cream in place of heavy cream, and opt for a vegan condensed milk alternative. Make sure to use vegan Oreo cookies (or a similar vegan cookie) to keep everything animal-product free.
How Long Can I Store Homemade Ice Cream?
Homemade ice cream is best enjoyed within a month, but it can last up to two months in the freezer if stored properly. After that, it might start to develop ice crystals or lose its flavor.
With these FAQs answered, you’re now fully equipped to embark on your Oreo Ice Cream making journey with confidence. From perfecting the recipe to serving and storing your creation, you’re ready to delight yourself and your loved ones with this timeless treat. Remember, the joy of ice cream making is in the process as much as in the tasting, so have fun and enjoy every scoop!