Embarking on the journey of making homemade marshmallows is akin to unfolding a sweet, fluffy tale right in your kitchen. These little cloud-like treats not only elevate your hot cocoa or s’mores experience but also bring a sense of accomplishment and joy with each bite. Crafting marshmallows from scratch may sound daunting, but with a dash of patience and a sprinkle of love, the process transforms into a delightful adventure. So, let’s dive into the world of marshmallow making, where each step is a chapter in creating these heavenly treats.
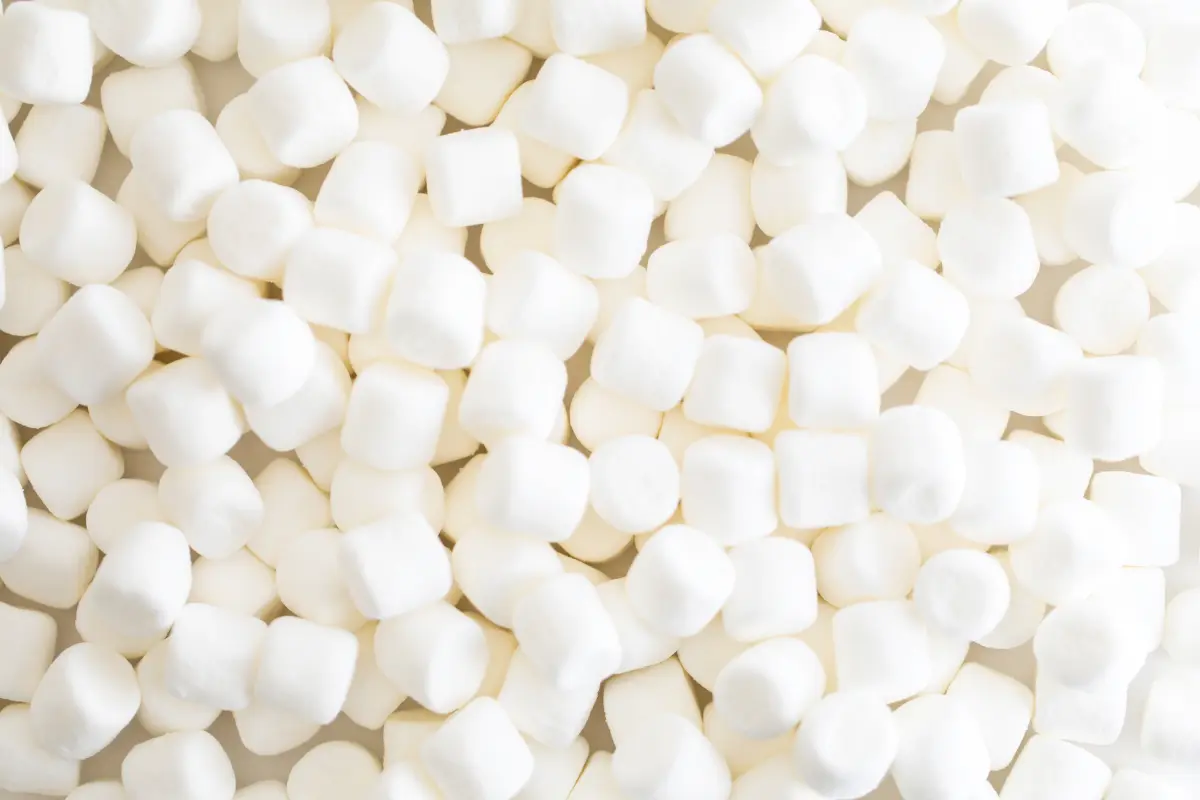
Marshmallows
The Joy of Making Marshmallows at Home
Imagine the warmth of a cozy kitchen, the soft whirl of a mixer, and the sweet scent of vanilla in the air. Making homemade marshmallows is not just about the end product; it’s about the experience. From the historical roots of the marshmallow plant to the modern twist on this ancient sweet, marshmallows carry a rich heritage that adds depth to their simplicity.
In this guide, we’ll explore the art and science behind making fluffy marshmallows. Whether you’re a seasoned baker or new to the culinary arts, this journey promises to add a sweet note to your cooking repertoire. So, tie your apron, gather your ingredients, and prepare to be whisked away into the world of homemade marshmallows, where every batch tells a story of creativity and culinary delight.
Ingredients and Tools for Fluffy Marshmallows

Essential Ingredients
- Water
- Sugar
- Gelatin
- Evaporated Milk
- Vanilla Extract
Tools You’ll Need
- Stand Mixer
- Cooking Spray
- Non-Stick Pan (8×8 or 9×13)
- Parchment Paper
- Candy Thermometer
- Rubber Spatula
- Sifter
- Sharp Knife or Kitchen Scissors
Armed with these ingredients and tools, you’re prepared to embark on the marshmallow-making journey. Each item on this list plays a pivotal role in bringing your homemade marshmallows to fluffy perfection. Stay tuned as we step into the heart of the process, where these elements come together to create something truly magical.
Step-by-Step Marshmallow Making Process
Preparing Your Kitchen
First off, let’s clear the deck! A clutter-free workspace is not just recommended; it’s essential. Why, you ask? Well, marshmallows, while delightful, are also a tad bit finicky. They demand your undivided attention and a bit of elbow room. So, clear off that counter, gather your tools, and let’s get started.
Mixing and Cooking
Now, onto the magical concoction that forms the basis of our marshmallows. Begin by mixing the gelatin with water, letting it bloom. Meanwhile, warm up the sugar and evaporated milk over gentle heat until the sugar dissolves. Then, crank up the heat and bring this mixture to a soft boil, aiming for the sweet spot of 235-240°F. This is where the magic begins. The mixture thickens, foams, and starts resembling the fluffy cloud of your dreams.
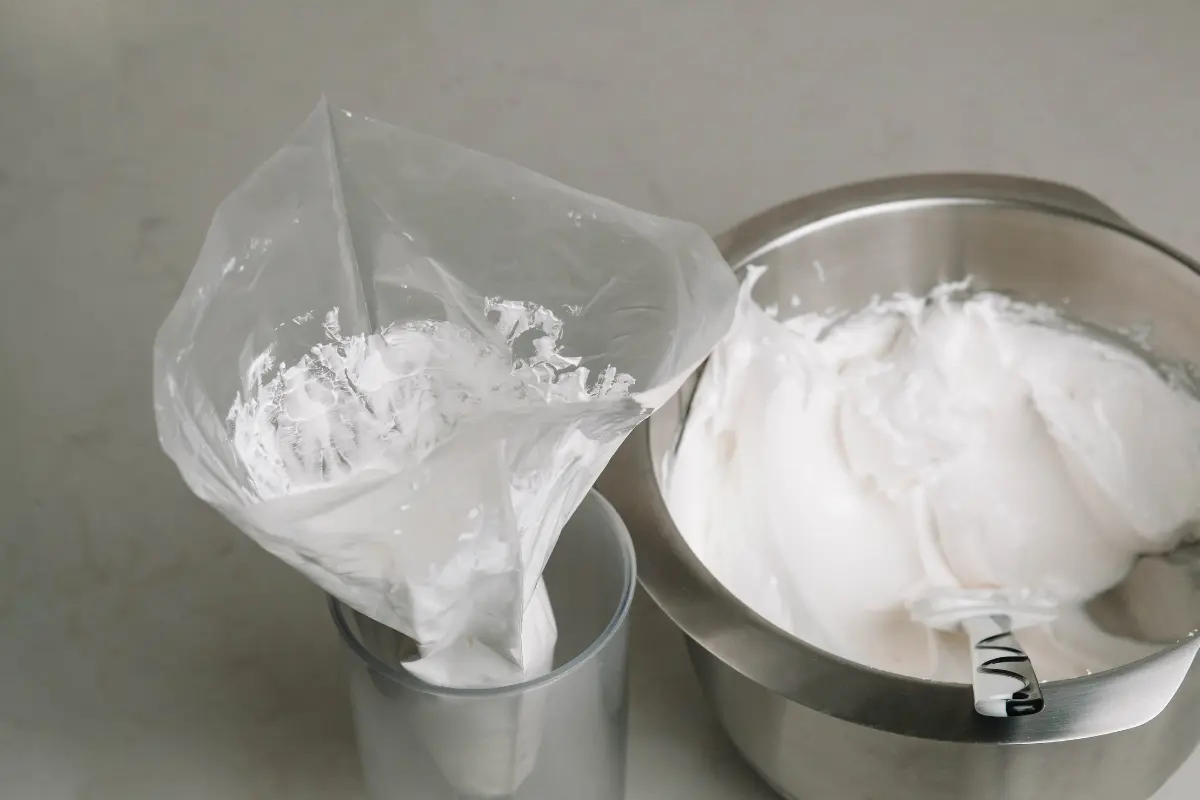
As soon as your thermometer gives the green light, pour this molten magic over the bloomed gelatin. Start your mixer on low to avoid a sugary splash, then gradually dial it up to high. Watching the mixture fluff up is nothing short of mesmerizing. This is the moment when patience turns into virtue. Keep it going until it’s thick, glossy, and has tripled in volume.
Setting and Cutting
With the mixture now perfectly fluffy, it’s time to pour it into a prepared pan lined with parchment. Smooth the top as best as you can, but hey, don’t sweat it if it looks a bit rustic – it’s part of the charm. Let it set overnight, dreaming of the sweet treats that await.
The next day, dust your surface and the top of the marshmallow slab with a mix of powdered sugar and cornstarch. This not only prevents sticking but also gives that classic marshmallow finish. Lift it out using the parchment ‘handles’ and cut into squares. Dust each piece with your sugar-starch mix, and voilà, your homemade marshmallows are ready to be devoured!
As you venture through this process, remember, making marshmallows at home is about the journey as much as the destination. It’s about the joy of watching simple ingredients transform into something that brings a smile, one fluffy bite at a time. So, take your time, enjoy the process, and don’t forget to share the sweetness!
Tips and Tricks for Perfect Marshmallows
Venturing into the sweet world of homemade marshmallows is an exciting journey filled with little nuggets of wisdom that can elevate your confections from good to spectacular. Here are some insider tips and tricks to help you achieve marshmallow perfection.
Achieving the Perfect Fluff
Patience Pays Off: The key to that dreamy fluff lies in the whipping. It might seem like an eternity, but giving your marshmallow mixture ample time to whip up to three times its original volume is crucial. This process introduces air, which is responsible for that signature marshmallow lightness.
Temperature Precision: Getting your sugar syrup to the right temperature (235-240°F) is non-negotiable. Too low, and your marshmallows won’t set properly; too high, and you risk a rubbery texture. A candy thermometer is your best friend here, ensuring that sweet spot every time.
Bloom Your Gelatin: Ensure your gelatin is fully bloomed before adding it to the hot sugar syrup. This means letting it sit in cold water until it’s fully absorbed and swollen. Skipping this step can lead to lumpy marshmallows.
Storing Your Marshmallows
Airtight Is Right: Once cut, store your marshmallows in an airtight container to keep them soft and fresh. Moisture is the enemy, so keeping them sealed away from the air will prevent them from becoming stale or too chewy.
Powdered Shield: Before storing, toss your marshmallows in a mix of powdered sugar and cornstarch. This acts as a barrier against stickiness, ensuring they remain individual fluffy cubes of joy rather than a singular, gooey blob.
Keep It Cool: While marshmallows don’t need to be refrigerated, storing them in a cool, dry place helps maintain their texture and prevents them from melting together.
Armed with these tips and tricks, your journey to making homemade marshmallows should be smooth and successful. Remember, making marshmallows is as much about the process as it is about the outcome. So, take your time, enjoy the sweet moments, and get ready to indulge in the fruits of your labor. Happy marshmallow making!
Customization Ideas
Now that you’ve mastered the basics of crafting homemade marshmallows, let’s jazz things up a bit! Marshmallows are like a blank canvas; they’re perfect for adding your personal touch. Whether it’s a burst of flavor or a sprinkle of creativity, customizing your marshmallows can transform them from delicious to extraordinary.
Flavor Variations
One of the simplest ways to customize your marshmallows is by playing with flavors. Vanilla is classic, but why stop there? Consider incorporating almond extract for a nutty twist, or peppermint for a refreshing zing. For the adventurous souls, a dash of orange blossom or rose water can add an exotic flair to your fluffy treats.
And if you’re feeling particularly bold, why not explore the realm of spices? A pinch of cinnamon or cardamom can introduce a warm, spicy note that’s perfect for the colder months. Just remember, when it comes to flavors, a little goes a long way. Start with a few drops or a pinch, taste, and adjust accordingly.
Decorative Suggestions
But why stop at flavors? Let’s talk decoration. Marshmallows are versatile; they’re not just for hot cocoa or s’mores. With a little creativity, they can become a standout element in your dessert repertoire.
Consider dipping half of your marshmallow square in melted chocolate, then rolling it in crushed nuts or sprinkles for a bit of texture and extra flavor. Or, use food coloring to swirl vibrant patterns directly into the marshmallow mixture before it sets for a pop of color.
For those special occasions, stencil designs on top using a bit of powdered sugar or edible glitter. Imagine serving your guests marshmallows dusted with gold for that extra touch of elegance.
Remember, making marshmallows is as much about the fun of creation as it is about the end result. So, don’t hold back! Experiment with different extracts, toppings, and colors to make your marshmallows truly your own. After all, the best recipes are those that carry a bit of personal flair. Happy customizing!
Serving and Enjoying Homemade Marshmallows
Creative Serving Ideas
Elevate Your Hot Beverages: Beyond the classic hot cocoa companion, consider dropping a homemade marshmallow into your morning coffee or a spiced chai latte. The unique flavors will meld wonderfully, creating a comforting, gourmet experience.
Marshmallow Dessert Toppings: Crush or slice your marshmallows to use as a topping for ice cream, brownies, or even a slice of warm pie. Their melt-in-your-mouth texture adds a delightful contrast to these desserts.
DIY S’mores Bar: Create a s’mores station at your next gathering with an assortment of homemade marshmallows, different chocolates, and graham cracker varieties. Encourage guests to experiment with combinations, making the classic campfire treat even more memorable.
Marshmallow Crafting as an Activity
Family Fun: Making marshmallows can be a delightful family activity. Kids will love watching the transformation from liquid to fluff and choosing their favorite flavors and shapes. It’s a wonderful way to introduce them to the joys of cooking and creativity in the kitchen.
Gift Giving: Homemade marshmallows, especially when flavored or colored, make thoughtful and personal gifts. Package them in pretty bags or boxes, perhaps with a custom hot cocoa mix, for a sweet gesture during the holidays or special occasions.
Themed Shapes for Festivities: With the help of cookie cutters, your marshmallows can take on any form—heart-shaped for Valentine’s Day, stars for Christmas, or pumpkins for Halloween. Colored sugar or edible glitter can add a festive touch.
Exploring the many ways to serve and enjoy homemade marshmallows highlights their versatility and the personal touch they can add to your culinary creations. Whether it’s through crafting them with loved ones, incorporating them into various desserts, or sharing them as gifts, homemade marshmallows offer a world of sweetness waiting to be savored
FAQs
In the world of homemade marshmallows, questions abound. Whether you’re a first-timer or a seasoned pro looking to refine your technique, these frequently asked questions will shed light on some of the marshmallow mysteries you might encounter. So, let’s dive into the fluffy unknown together!
Common Marshmallow-Making Queries
Q: Why are my marshmallows not fluffy?
A: Achieving that perfect fluffiness hinges on a few critical factors: ensuring your gelatin fully blooms, getting your sugar syrup to the right temperature, and whipping the mixture long enough. If any of these steps are off, your marshmallows might end up a tad on the dense side. Patience and precision are your best friends here.
Q: Can I make marshmallows without a candy thermometer?
A: While it’s possible to make marshmallows without a candy thermometer, using one takes the guesswork out of reaching the crucial soft-ball stage of your sugar syrup. For consistency and safety, it’s worth investing in this handy tool. Remember, we’re aiming for that sweet spot of 235-240°F!
Q: How long do homemade marshmallows last?
A: When stored properly in an airtight container at room temperature, your marshmallows can stay fresh and fluffy for up to 3 weeks. Just make sure they’re well-coated with a mixture of powdered sugar and cornstarch to prevent them from sticking together.
Q: Can I use something other than sugar for sweetening?
A: Absolutely! If you’re looking to explore alternative sweeteners, honey or maple syrup can be great substitutes. Keep in mind, though, that they can affect the flavor and texture of your marshmallows, so you might need to experiment a bit to get it just right.
Q: Is there a vegan alternative to gelatin?
A: Yes, for those seeking a plant-based option, agar-agar is a fantastic gelatin substitute. Derived from seaweed, it sets firmer than gelatin, so you might need to adjust the quantities. Experimentation is key to achieving the perfect vegan marshmallow.
There you have it—answers to some of the most common head-scratchers in the marshmallow-making process. Armed with this knowledge, you’re well on your way to conquering the peaks and valleys of marshmallow mastery. Happy whisking!