In the heart of every home kitchen lies the potential for culinary magic, a place where simple ingredients can transform into something truly spectacular. Among the vast array of dishes cherished worldwide, chicken cutlets stand out for their versatility, ease of preparation, and undeniable appeal across ages and cultures. This comprehensive guide is designed to walk you through the journey of mastering the chicken cutlet recipe, from selecting the right ingredients to presenting a dish that’s bound to impress. Whether you’re a seasoned chef or a culinary novice, the art of crafting the perfect chicken cutlet is within your reach. Let’s embark on this flavorful adventure, peppered with tips, variations, and the secrets to achieving that golden, crispy perfection.
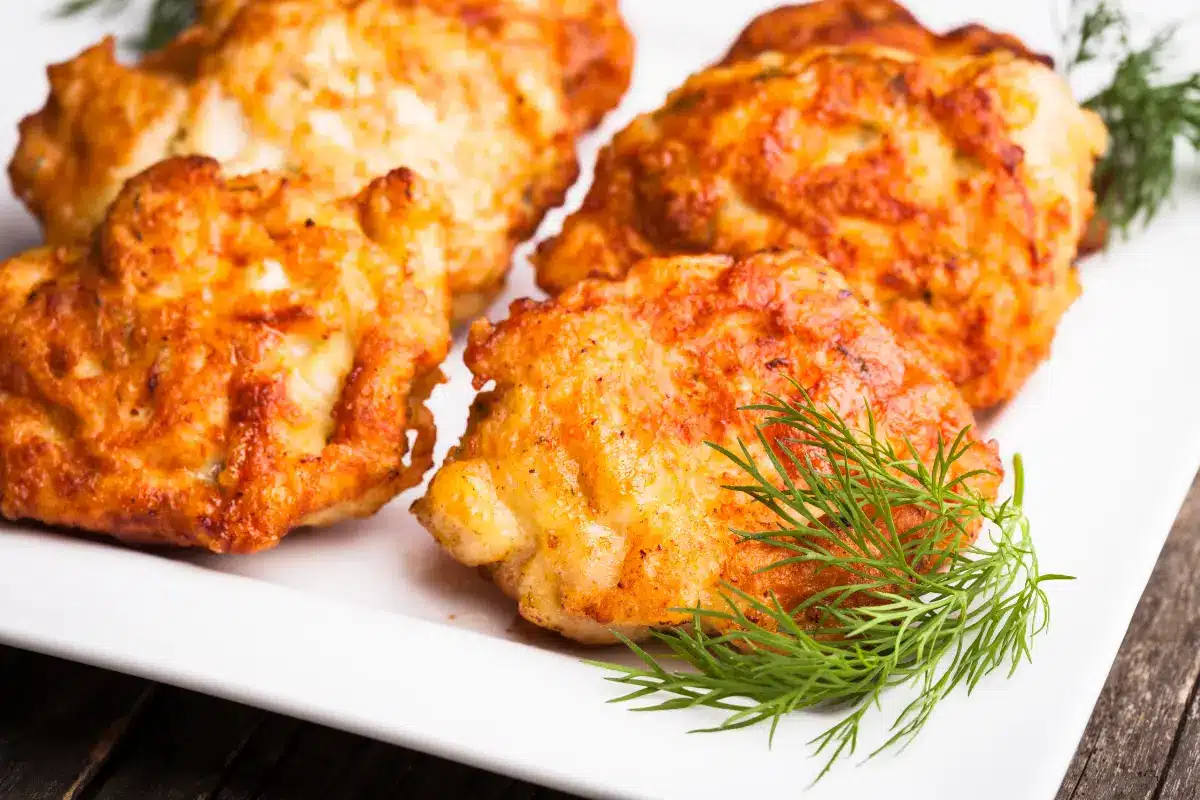
Chicken Cutlets
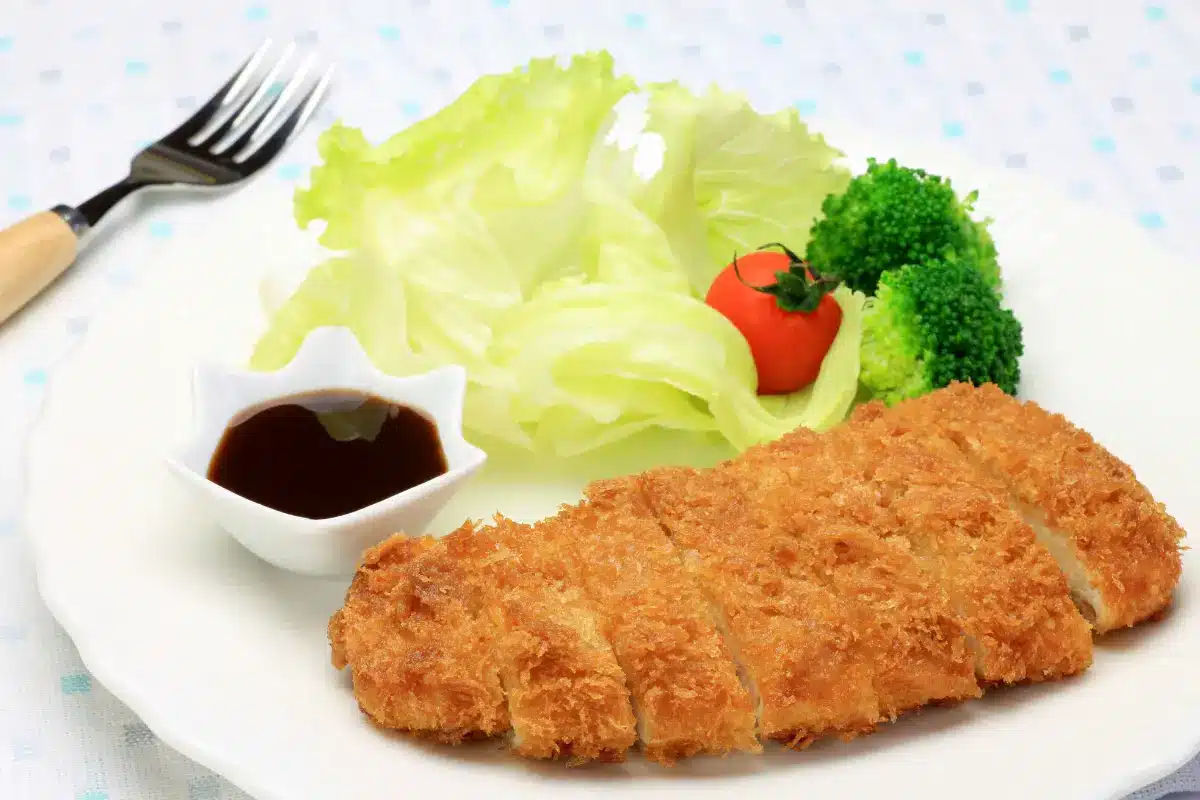
Chicken cutlets are more than just a dish; they’re a canvas for culinary creativity. Known for their crispy exterior and juicy interior, these delights are a staple in many cuisines around the globe. But what makes chicken cutlets a beloved choice among so many? It’s their incredible adaptability to different flavors and cooking techniques, not to mention their ability to pair beautifully with a myriad of side dishes. In this section, we delve into the world of chicken cutlets, shedding light on their appeal and laying out a roadmap for a recipe that promises to be both delicious and straightforward.
What Makes Chicken Cutlets a Popular Choice?
Ah, the humble chicken cutlet. It’s the unsung hero of weeknight dinners, the centerpiece of many a memorable meal. Its popularity doesn’t stem from complexity or rarity of ingredients but rather from its simplicity and the comfort it brings to the dining table. Chicken cutlets have the unique ability to absorb and complement the flavors they’re paired with, making them a versatile option for any meal. Plus, their relatively quick cooking time is a boon for those looking for a gourmet experience without spending hours in the kitchen.
Overview of the Recipe
Embarking on the chicken cutlet journey, we’ll start with the basics: selecting top-notch ingredients and understanding the steps that lead to the perfect cutlet. This recipe is more than just a set of instructions; it’s a gateway to exploring different culinary traditions and personalizing your dish to suit your taste. By the end of this guide, you’ll not only have mastered the art of making chicken cutlets but also gained insights into customizing the recipe to keep your dinners exciting and new.
In the following parts, we’ll explore the ingredients you’ll need, walk you through the cooking process step by step, and share tips on serving, storage, and making your cutlets stand out. So, roll up your sleeves, and let’s dive into the world of chicken cutlets, where every step is an opportunity to unleash your inner chef and every bite is a testament to your culinary prowess.
Ingredients and Preparation
Before we dive into the alchemy of cooking, let’s gather our culinary tools and the cast of ingredients that will transform into golden, crispy chicken cutlets. The beauty of this dish lies in its simplicity, focusing on quality ingredients and a touch of technique to elevate the ordinary to extraordinary.
Essential Ingredients for Chicken Cutlets
- Chicken breasts (4 large), pounded to an even thickness
- All-purpose flour (1 cup)
- Eggs (2), beaten
- Breadcrumbs (1.5 cups) – consider using panko for extra crispiness
- Parmesan cheese, grated (1/2 cup) – for a cheesy, flavorful crust
- Salt and pepper to taste
- Olive oil or vegetable oil, for frying
Preparing the Ingredients
Start by laying out your chicken breasts on a clean surface. If they’re particularly thick, you’ll want to slice them in half horizontally before pounding them to an even thickness of about 1/2 inch. This not only helps them cook more evenly but also tenderizes the meat, ensuring that every bite is as succulent as it is flavorful.
Next, set up your breading station: one plate with flour seasoned with salt and pepper, another with beaten eggs, and a final plate with a mixture of breadcrumbs and grated Parmesan. This triple-dipping process is the secret to achieving that enviable golden crust that makes chicken cutlets so irresistible.
Tools and Equipment Needed
- Meat mallet or rolling pin (for pounding the chicken)
- Three shallow plates or bowls (for the breading process)
- Large skillet or frying pan
- Cooking tongs
- Paper towels (for draining excess oil)
With your ingredients ready and your kitchen prepped, you’re all set to embark on the culinary journey of cooking chicken cutlets. This preparation phase is crucial, setting the stage for a cooking process that’s as smooth as it is enjoyable. So, take a moment to appreciate the simplicity of these ingredients and the potential they hold. In the next section, we’ll turn these humble components into a dish that’s sure to dazzle, guiding you through each step with care and culinary insight. Stay tuned, as we’re about to turn the heat up and bring the essence of chicken cutlets to life.
Cooking the Chicken Cutlets
With your ingredients prepped and your kitchen brimming with anticipation, it’s time to turn up the heat and cook those chicken cutlets to perfection. Follow these steps closely, and you’re on your way to achieving that ideal balance of crispy on the outside, juicy on the inside.
Step 1: Preparing the Chicken
Before anything else, ensure your chicken breasts are pounded to an even thickness. This not only ensures even cooking but also tenderizes the meat, making each bite as succulent as the last. Season both sides with salt and pepper to taste, laying the foundation for a flavorful crust.
Step 2: Breading the Chicken
One by one, coat each chicken breast in flour, shaking off any excess. Dip them next into the beaten eggs, allowing the excess to drip off. Finally, press each piece into the breadcrumb-Parmesan mixture, ensuring a thorough coat. This triple-layer technique is your ticket to achieving that irresistible crunch.
Step 3: Cooking Techniques
- Pan-frying:Heat a generous amount of oil in a large skillet over medium-high heat. Once hot, carefully place the breaded chicken cutlets in the pan, being careful not to overcrowd. Cook for about 3 to 4 minutes on each side, or until golden brown and the internal temperature reaches 165°F. Remember, a golden, crispy exterior paired with a fully cooked interior is the goal.
- Baking (for a healthier option):Preheat your oven to 400°F. Place a wire rack on a baking sheet and arrange the breaded cutlets on top. This setup allows hot air to circulate around the chicken, ensuring an even crisp. Bake for about 20 to 25 minutes, flipping halfway through, until the crust is golden and the chicken is cooked through.
Step 4: Ensuring Perfect Doneness
The key to perfectly cooked chicken cutlets lies in not just the color of their crust but ensuring the meat’s internal temperature reaches a safe 165°F. Using a meat thermometer, check the thickest part of the cutlet. Once it hits that magic number, you’re good to go.
After cooking, let the cutlets rest on a paper towel-lined plate for a few minutes. This brief pause allows excess oil to drain away, ensuring your cutlets remain crispy and not greasy.
With these steps, you’ve transformed simple ingredients into a culinary delight. Chicken cutlets, with their golden crust and tender interior, are a testament to the magic of cooking. They embody the joy of creating something truly delicious from everyday ingredients. Up next, we’ll dive into the best ways to serve and present your chicken cutlets, turning a regular meal into an extraordinary experience. Stay tuned, as the journey from kitchen to table is about to get even more exciting.
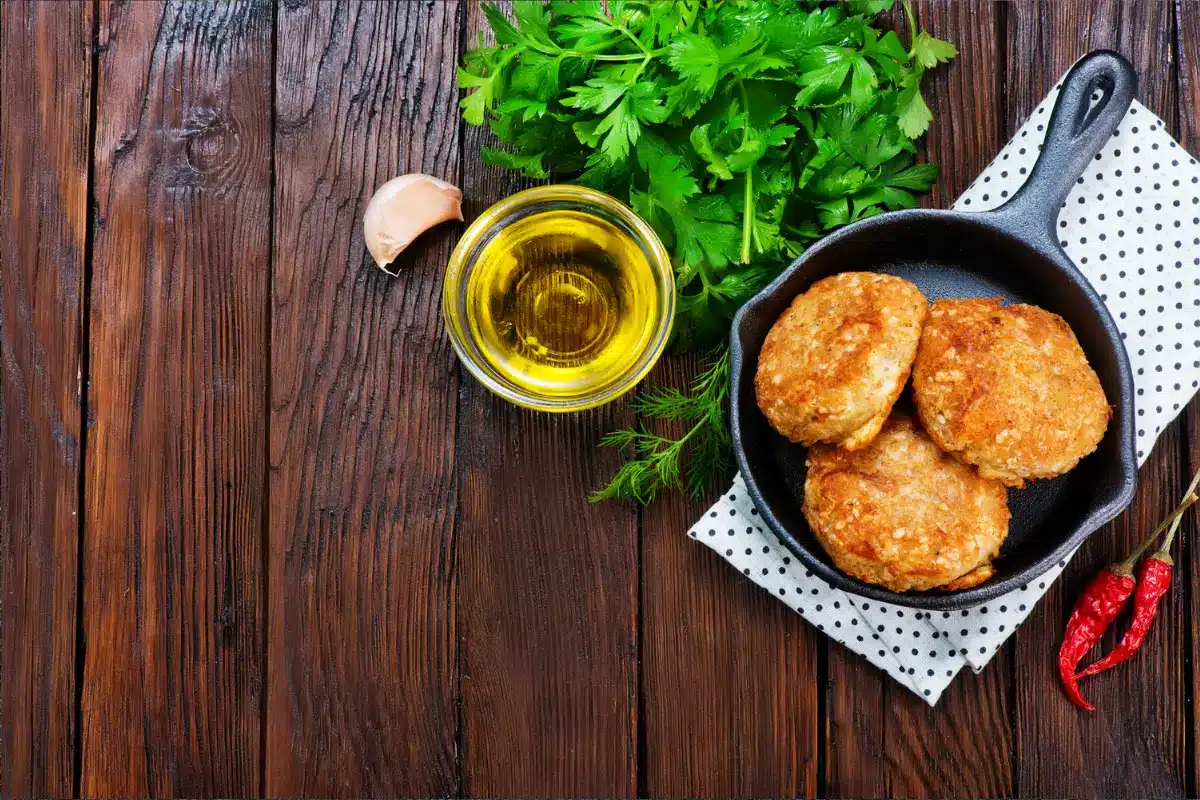
Serving and Presentation chicken cutlets
Ah, the moment of truth has arrived! Your chicken cutlets are cooked to perfection, and it’s time to serve them in a way that does justice to their crispy exterior and juicy interior. Here’s how to turn a simple dish into an eye-catching feast that appeals to both the taste buds and the eyes.
Serving Suggestions
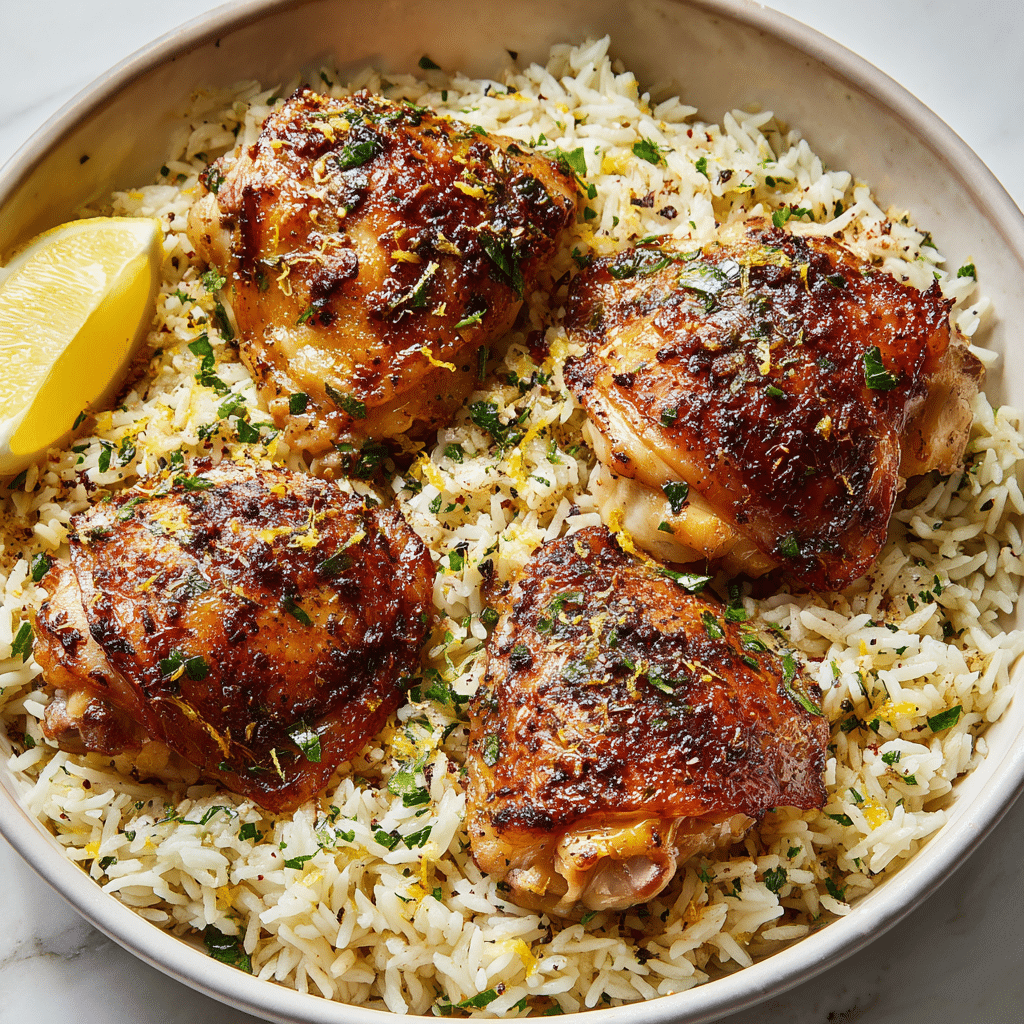
Chicken cutlets are wonderfully versatile, pairing splendidly with a variety of sides. Whether you’re aiming for a light and healthy meal or something more hearty, there’s no shortage of options:
- For a lighter fare, consider a fresh, vibrant salad or steamed vegetables. These not only add color to your plate but also balance the richness of the chicken.
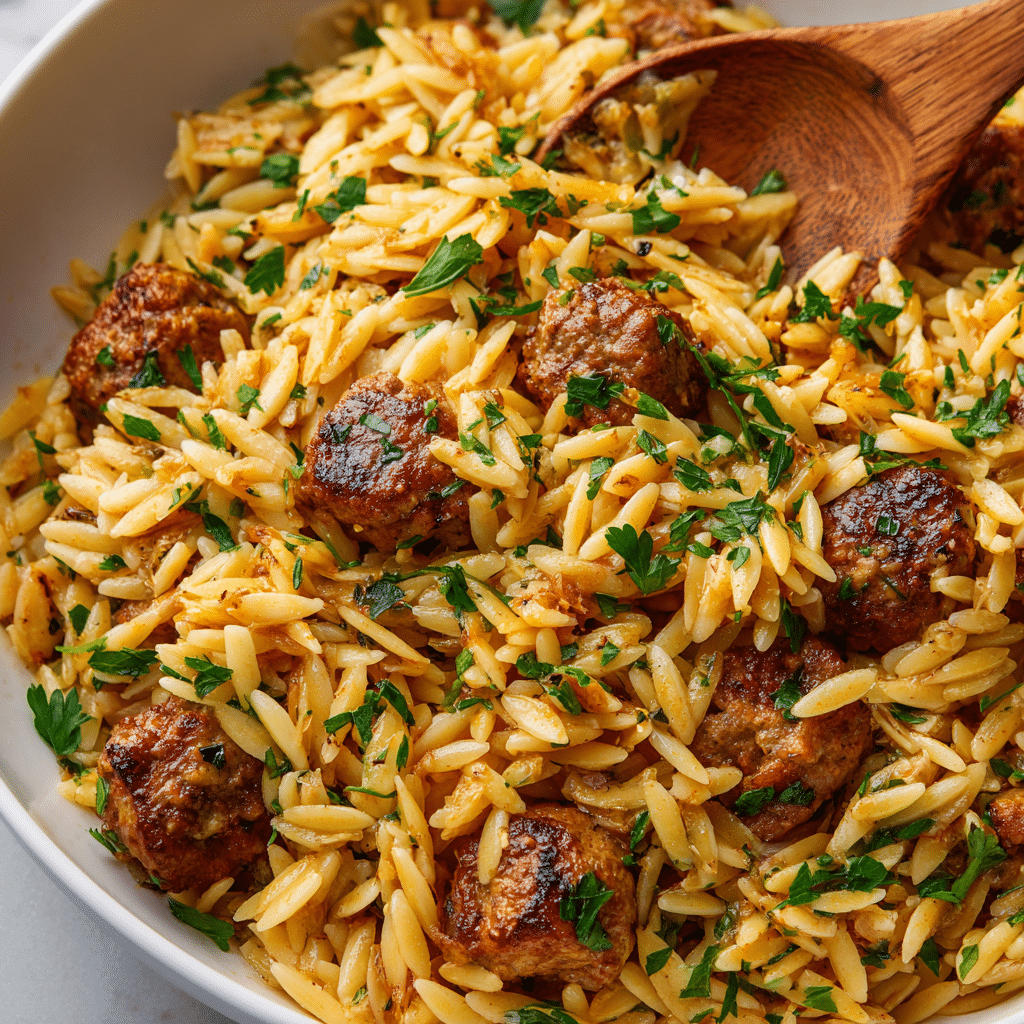
- If you’re leaning towards comfort food, mashed potatoes, pasta, or a warm grain salad can be your go-to. These sides embrace the chicken with their comforting textures and flavors.
- Don’t forget to drizzle your chicken cutlets with a squeeze of lemon right before serving. This simple touch brightens the dish and brings all the flavors into sharp focus.
Garnishing Tips
A little garnish goes a long way in elevating the presentation of your chicken cutlets. Here are a few suggestions:
- A sprinkle of freshly chopped parsley or basil adds a burst of color and a hint of freshness.
- Thin slices of lemon arranged around the plate not only look beautiful but also invite diners to add a zesty kick to their chicken.
- For a hint of luxury, shave some Parmesan over the top. This ties back to the Parmesan in the crust and adds an extra layer of flavor.
Presentation Ideas for Maximum Appeal
First impressions matter, even in dining. Here’s how to present your chicken cutlets for that wow factor:
- Use a warm plate to keep everything toasty. A nice touch, especially for colder months.
- Arrange the chicken cutlets thoughtfully on the plate, allowing space for sides. This shows off each component of your meal.
- Consider the color palette of your plate. A dash of green from herbs or vegetables can make the golden brown of the chicken pop.
Serving your chicken cutlets isn’t just about placing food on a plate; it’s about creating an experience. With these tips, you’re not just serving a meal; you’re offering an invitation to savor, enjoy, and remember. As we move forward, we’ll explore the endless variations of this beloved recipe, ensuring your culinary repertoire is as dynamic as it is delicious. Stay tuned, as the adventure from kitchen to table continues to unfold.
Variations of the Recipe
The beauty of chicken cutlets lies not only in their delicious simplicity but also in their incredible versatility. Whether you’re catering to specific dietary needs or simply looking to spice things up, there’s a variation out there that’s perfect for you. Let’s explore some of the many ways you can customize this classic dish to keep it fresh and exciting every time it graces your table.
Dietary Adjustments (Gluten-Free, Low-Carb)
- Gluten-Free: Swap out traditional breadcrumbs for a gluten-free alternative. Many stores offer gluten-free breadcrumbs, or you can make your own using gluten-free bread. Almond flour mixed with grated Parmesan also makes for a crispy, flavorful coating that’s entirely gluten-free.
- Low-Carb: For a low-carb version, consider using crushed pork rinds or a blend of almond flour and grated Parmesan cheese in place of breadcrumbs. These alternatives provide a satisfying crunch without the carbs.
Flavor Variations (Herbs and Spices)
The seasoning possibilities are endless, allowing you to tailor your chicken cutlets to match any cuisine or flavor profile:
- Italian: Add dried oregano, basil, and garlic powder to your breadcrumb mixture for a classic Italian flair.
- Asian-Inspired: Swap out the Parmesan for sesame seeds and add a touch of ground ginger and garlic powder. Serve with a side of soy sauce or a sweet and spicy dipping sauce.
- Middle Eastern: Mix in some za’atar or cumin with your breadcrumbs for a Middle Eastern twist. Pair with a yogurt-based dipping sauce for a refreshing contrast.
Alternative Cooking Methods (Air-Frying, Grilling)
- Air-Frying: For a lighter alternative, air-fry your chicken cutlets. Preheat your air fryer to 400°F, and cook the breaded chicken for about 10 minutes, flipping halfway through. This method uses significantly less oil, making for a healthier yet still deliciously crispy cutlet.
- Grilling: Though not traditional for a “cutlet,” grilling breaded chicken can add a smoky flavor that’s unique and tantalizing. Ensure your grill grates are clean and oiled to prevent sticking. Grill over medium heat, carefully flipping once, until cooked through.
These variations not only allow you to customize your chicken cutlets based on dietary needs and flavor preferences but also offer an exciting way to travel the culinary world from the comfort of your kitchen. Experimenting with different herbs, spices, and cooking methods can turn the simple act of making chicken cutlets into an adventure, proving that even the most familiar dishes can be a canvas for creativity.
As we move forward, we’ll look into the best practices for storing leftovers, ensuring that your culinary creations continue to delight well beyond the initial meal. Whether you’re meal prepping for the week ahead or simply looking forward to enjoying your delicious chicken cutlets another day, the next section will guide you through everything you need to know about storage and reheating.
Managing Leftovers and Storage
Let’s face it: Cooking can sometimes lead to delicious leftovers, including those chicken cutlets that were a hit at dinner. Properly storing and managing leftovers not only ensures safety but also maintains the quality of your meal for future enjoyment. Here’s how to keep those cutlets crispy and delicious for days to come.
How to Store Leftover Chicken Cutlets
- Cooling Down: Before storing, allow the cutlets to cool to room temperature. However, don’t leave them out for more than 2 hours to avoid bacterial growth.
- Refrigeration: Place the cooled cutlets in an airtight container. To prevent them from becoming soggy, you can line the bottom of the container with a paper towel, which will absorb any excess moisture. Properly stored, they can last in the refrigerator for up to 3 to 4 days.
- Freezing: For longer storage, freeze the cutlets. Wrap each cutlet individually in plastic wrap and then place them in a freezer bag. Squeezing out as much air as possible before sealing will help prevent freezer burn. They can be stored in the freezer for up to 3 months.
Reheating Tips to Retain Crunchiness
Reheating chicken cutlets while maintaining their crispiness can be a bit of a challenge, but with the right technique, it’s entirely possible:
- Oven Reheating: Preheat your oven to 375°F. Place the cutlets on a wire rack over a baking sheet to allow air to circulate around the chicken, promoting even reheating and crispiness. Heat for about 10-15 minutes, or until thoroughly warmed and crispy. Avoid using a microwave, as it will make the breading soggy.
- Air Fryer: For a quick and efficient method, reheat the cutlets in an air fryer at 375°F for 3-5 minutes. This method helps retain the crispiness without drying out the chicken.
Freezing and Thawing Instructions
When you’re ready to enjoy your frozen cutlets, proper thawing is crucial for maintaining quality:
- Refrigerator Thawing: Transfer the frozen cutlets to the refrigerator and let them thaw overnight. This method is preferred as it keeps the chicken at a safe temperature, reducing the risk of bacterial growth.
- Oven Reheating from Frozen: If you’re short on time, you can reheat the cutlets directly from frozen. Just extend the oven reheating time by about 5-10 minutes, ensuring the chicken is heated through and the crust is crispy.
By following these storage and reheating tips, you can ensure that your chicken cutlets remain as delightful as the day they were cooked. Not only does proper storage extend the life of your leftovers, but it also preserves the textures and flavors that made your meal special in the first place.
As we wrap up this comprehensive guide to crafting the perfect chicken cutlets, we’ll conclude with some final thoughts and an invitation to continue exploring the limitless possibilities of home cooking. Stay tuned for our closing remarks and a heartfelt send-off into your culinary adventures.
Frequently Asked Questions about chicken cutlets
As we near the end of our culinary journey through the world of chicken cutlets, it’s natural to have questions. After all, every chef, whether budding or experienced, seeks perfection in their craft. Let’s address some commonly asked questions that might have crossed your mind during this flavorful adventure.
Can Chicken Cutlets be Made Ahead of Time?
Absolutely! Chicken cutlets can be breaded ahead of time and stored in the refrigerator for a few hours before cooking. This can be a real time-saver when planning meals for guests or family dinners. Just make sure to keep them covered to prevent drying out. If you’re looking to prep way ahead, you can freeze the breaded cutlets using the freezing instructions provided earlier. When you’re ready to cook, simply follow the cooking instructions, adding a few extra minutes to accommodate for the frozen state.
Are Chicken Cutlets Healthy?
Chicken cutlets can be a part of a balanced diet. Chicken, especially the breast, is a lean source of protein. To make cutlets healthier, consider baking or air frying instead of deep frying. This reduces the oil content significantly. Additionally, using whole wheat breadcrumbs or almond flour as a breading alternative can add nutritional value. Pairing cutlets with sides of vegetables or salads also makes for a well-rounded, nutritious meal.
Tips for Avoiding Common Mistakes
- Overcrowding the Pan: When pan-frying, avoid overcrowding. Cooking too many cutlets at once can lower the oil’s temperature, leading to soggy breading rather than a crispy crust.
- Not Letting Excess Egg Drip Off: Ensure that after dipping in egg, you allow the excess to drip off before moving on to the breadcrumbs. Too much egg can lead to a soggy breading that doesn’t adhere well.
- Skipping the Resting Time: Allowing the cooked cutlets to rest on a paper towel-lined plate for a few minutes after cooking helps drain any excess oil, keeping the breading crispy.
Embarking on the journey of creating the perfect chicken cutlet has been an exploration of not just cooking techniques but the art of transforming simple ingredients into a meal that delights and satisfies. Through the process, we’ve learned that cooking is as much about technique and precision as it is about passion and creativity.
As we conclude this guide, remember that the kitchen is a place of endless possibilities. Each ingredient, each step, and each variation offers an opportunity to learn, to experiment, and to create dishes that reflect your unique culinary voice. Whether you stick to the classic recipe or venture into the myriad of variations, the perfect chicken cutlet is within your reach, ready to become a cherished part of your cooking repertoire.
Thank you for joining us on this delicious journey. May your chicken cutlets be crispy, your meals joyful, and your kitchen adventures endless. Here’s to many more culinary explorations and the simple joy of cooking that brings us all together. Bon appétit!